Dirt, grime, mold, and mildew build up on your home’s exterior over time, dulling its shine and wearing it down. Power washing is a simple and effective way to restore it to its former glory and protect it from permanent damage. For property maintenance, selling your property, or just restoring the exterior, power washing can be a game-changer.
This guide will guide you through seven important steps for safely and properly power washing the exterior of your home so it will look perfectly clean and new.
Step 1: Assemble the proper equipment
Before you start, make sure that you possess the correct gear. The most essential gear is a pressure washer and it comes in two main forms: gas and electric. Gas pressure washers are stronger in terms of pressure and suit larger stain removal and large houses. Electric pressure washers are quieter and well suited for small projects or delicate surfaces.
The proper nozzle selection is also a must. A 25-degree or 40-degree nozzle is best for siding because it creates a soft, wide spray. For tougher stains, a 15-degree nozzle may be used but with caution. Avoid using zero-degree nozzles since they create a highly concentrated spray that destroys surfaces.
Step 2: Prepare Your Home’s Exterior
Preparation is important to an effective power wash. Start by closing windows and doors tightly so that water will not enter inside. Outdoor electrical outlets, light fixtures, and furniture nearby should be covered by plastic sheets or waterproof materials.
If you have plants or bushes near your home, water them using water first before you start. It will weaken any cleaning solution that might come into contact with them. Trimming overgrown bushes will also make it easier to reach all sides of the exterior of your home.
Step 3: Apply a Cleaning Solution
Applying detergent before power washing allows it to emulsify grime, mold, and stains more effectively. Employ a low-pressure setting or soap-dispensing nozzle when dispensing the solution onto the surface uniformly.
Treat section-by-section to have complete coverage. Allow the detergent to remain for five to ten minutes so it can loosen dirt. Do not allow it to dry, however, since this will make it difficult to rinse.
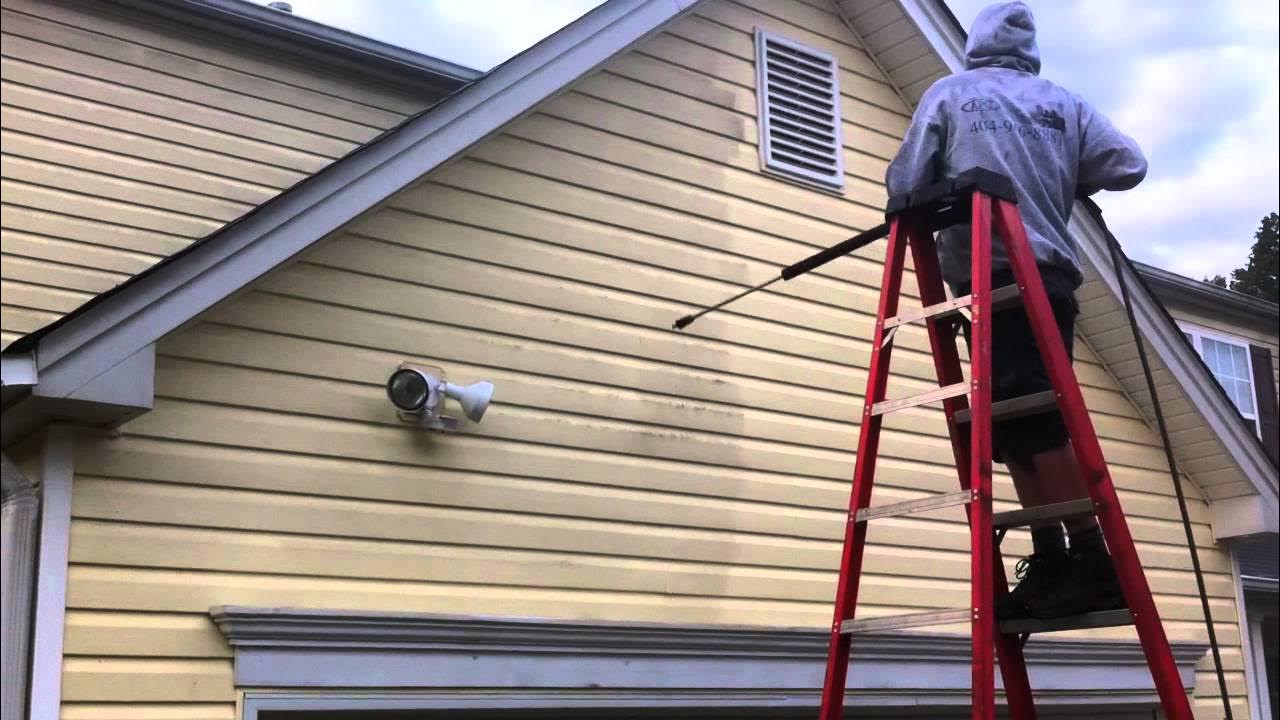
Step 4: Start Power Washing from the Top Down
Once the detergent has been given time to work, it’s time to rinse with the pressure washer. The best way is to start at the top of the house and work your way down. This prevents dirty water from streaking onto clean areas.
Hold the pressure washer wand firm at six to twelve inches from the surface. Standing too close will be harming the siding; and stepping too far will cause the pressure not be strong enough to break through the grime. Adjust the pressure based on the materials used in your home. Wood and vinyl siding need less pressure, while more pressure can be applied to brick and concrete.
Step 5: Tackle Tough Stains and Mold
Certain parts of your house might have more resistant strains that need a little more TLC. Mold and mildew in shaded areas tend to be challenging to get out with regular washing. If mold is the case, using a mold cleaner and allowing it to sit for an additional minute or two before rinsing can provide assurance that they are completely removed.
For extreme dirt, increasing the pressure slightly may work, but beware not to damage the surface. If the marks are still visible, attempt a rotating scrub brush attachment to soften up the dirt. Re-putting the detergent and re-rinsing could be required in some cases for best effects.
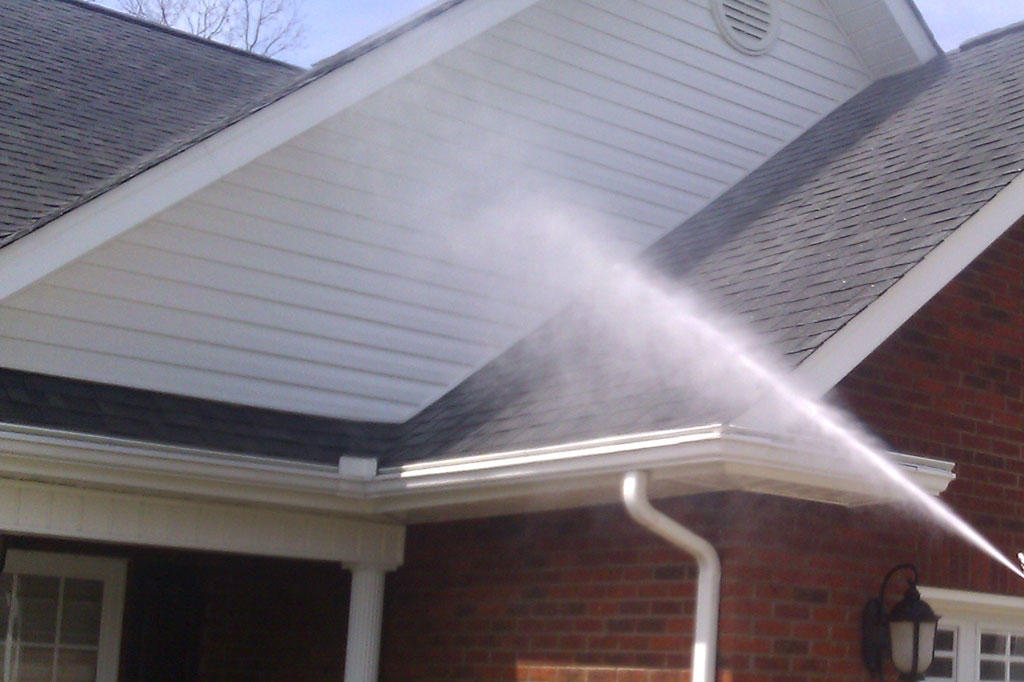
Step 6: Rinse Well and Let Dry
After the dirt and all the detergent has been washed out, a finishing rinse is used to leave the finish streak free. Rince the house in a top-down manner with the use of a wide-angle spray nozzle to ensure that no soapy residue will be left to cause streaking or discoloration if extra detergent is used.
Once washed, allow the exterior of the house to fully dry before applying any additional enhancements, such as painting or sealing. Depending on the weather, it may take a few hours to a whole day. Having everything dry thoroughly keeps everything clean and free of moisture problems.
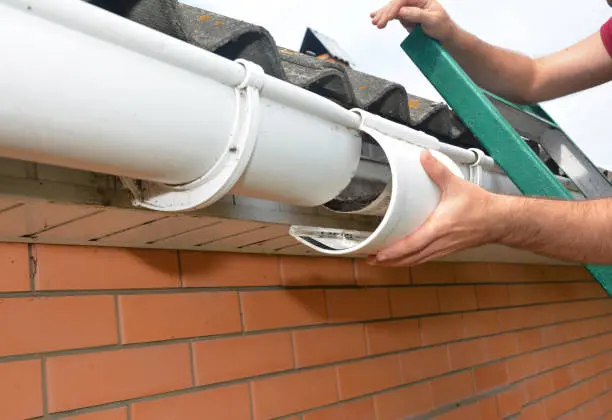
Step 7: Check and Maintain for Long-Lasting Results
After finishing the power washing, take a little time to inspect your house’s exterior to see if there are any spots or areas still remaining that need to be cleaned. Take a stroll about your yard and look for anything that was skipped, particularly dirt in corners or under eaves. If necessary, touch up any areas which need a wholly fresh appearance quickly.
Power washing is not a one-time deal; it is necessary to have a routine cleaning schedule in order to keep your home in good shape. Power washing once a year, preferably in the spring or early summer after winter’s dirt and grime have built up, is recommended by experts. But for homes in humid climates or those with heavy pollen counts, more frequent cleaning will be needed.
Final Thoughts
Power washing is an excellent way to restore the exterior of your home to its former glory, removing years of built-up dirt, grime, and mildew. By following these seven essential steps, you can achieve professional-quality results and keep your home looking its best.
If you require professional and hassle-free cleaning services, Anton Pro Wash is here to help. Our expert professionals ensure your home is power washed effectively and safely, giving it a brand new look. Call us now and let us transform the exterior of your home!